Hawaii For Lunch – Travel By Food
France for breakfast, Hawaii for lunch and Peru for dinner. Given the flight distances, this sentence wouldn’t even be achievable under regular circumstances. And we know better than to travel in a pandemic anyway. So let me introduce you to travel by food, or culinary travel. The origin of this idea can be found somewhere in the depths of TikTok.
This post contains affiliate links. This means we make a small commission at no cost to you if you click through and make a purchase. All prices listed are accurate at time of publication.
The Concept Of Travel By Food
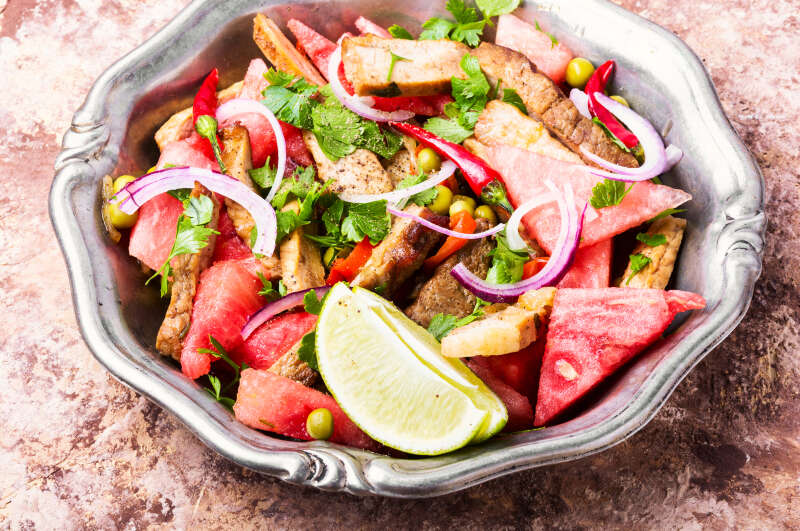
It’s very straightforward: you and whoever you live with or are allowed to meet under your local regulations write names of countries, regions or cities that you want to visit on pieces of paper and put them in a bowl. Every time you feel like traveling, you draw a piece of paper and come up with a meal together. The meal can be ordered, but also be prepared by you. It can simply be a dessert, but also a multi-course meal. If you want, you can put on an atmosphere video, a national playlist, a drive and listen video, or a walking tour video while you eat. If you want to extend your stay, you can also visit a museum of that city/region/country, find a documentary about it, learn a few words, or just watch any random movie set in that place. And if you have some additional ideas of how to experience the culture, I’d love to hear them in the comments!
Hawaii for Lunch
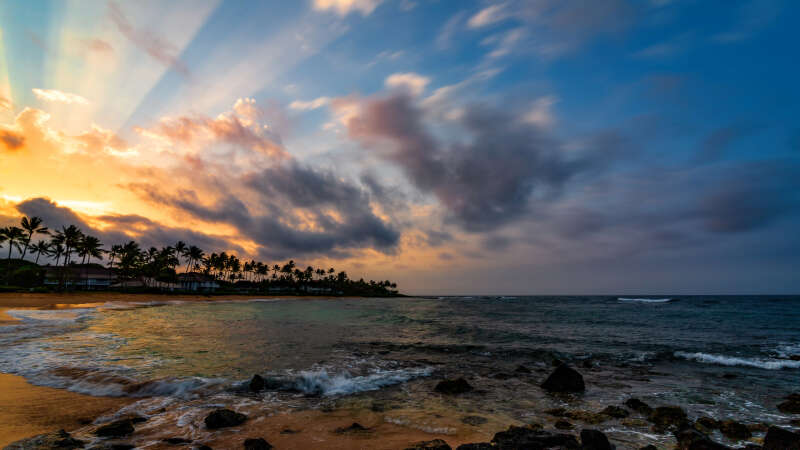
So with all this in mind, this week we’re traveling to Hawaii! It’s been on my list for a while now, for various reasons including surf culture and lilo and stitch, in no particular order. However, living in Europe, I never had the necessary pocket change such a long flight. Therefore I’m now going by not going. Let me start with some random Hawaii facts. Did you know the rainiest place in the USA is Kauai’s Mt. Waialeale?
Now there are many things to do, see and eat, so I’ve divided them all up into separate lists.
What to do
- Learn to hula dance – *ASK in jobs if we have a hula instructor*. You could book a private or group online dance lesson in advance or check out iHula Hawaii for some free hula lessons. If you’re traveling with kids, you might prefer Miss Jessica’s video so the little ones can join in.
- Learn to speak Hawaiian – with the help of some friendly instructors or on the DuoLingo App.
- Listen to Hawaiian music (while you prepare food or wait for the delivery) – there are plenty of playlists on Spotify and YouTube.
- Read a book about Hawaii. I asked our GWT book club and the suggestions were:
This is Paradise: Stories by Kristiana Kahakauwila
Dreams from My Father by Barack Obama
Olelo Noeau: Hawaiian Proverbs and Poetical Sayings by Mary Kawena Pukui
Moloka’i by Alan Brennert
The Color of Air by Gail Tsukiyama
Waterman: The Life and Times of Duke Kahanamoku by David Davis.
What to see
- Surfing – the ancient Hawaiian sport at its place of birth LIVE
- Honolulu – nice stroll through the state’s capital
- Flight over O’ahu – enjoy the island from the bird’s perspective
- Documentaries – there are many free ones to pick from
- Movies – pick a movie set in Hawaii
- Landing at Honolulu airport
Waikiki Wahini Coolers
You need (per portion):
- Ice cubes
- 180ml (3/4 cup) of unsweetened coconut water
- ½ banana
- 125ml (1/2 cup) of strawberries
- 3cm (1/8 inch) fresh sliced and peeled ginger
- ½ tablespoon of maple syrup
- 1 twig of fresh mint
Preparation
Once the plane has landed and we clapped for our pilot, just kidding, we get changed into our holiday wardrobe and mix up some welcome drinks. It’s a recipe I found online for Waikiki Wahini Coolers, for example: Fill half your glass with ice cubes. In a blender, add 180ml (3/4 cup) of unsweetened coconut water, half a banana cut into small chunks, 125ml (1/2 cup) of strawberries, and 0.3cm (1/8 inch) fresh sliced and peeled ginger and blend until smooth. Pour over the ice cubes, add ½ tablespoon maple syrup for adding sweetness and decorate with some fresh mint. Travel by food should always start with a nice drink!
Poke Bowl
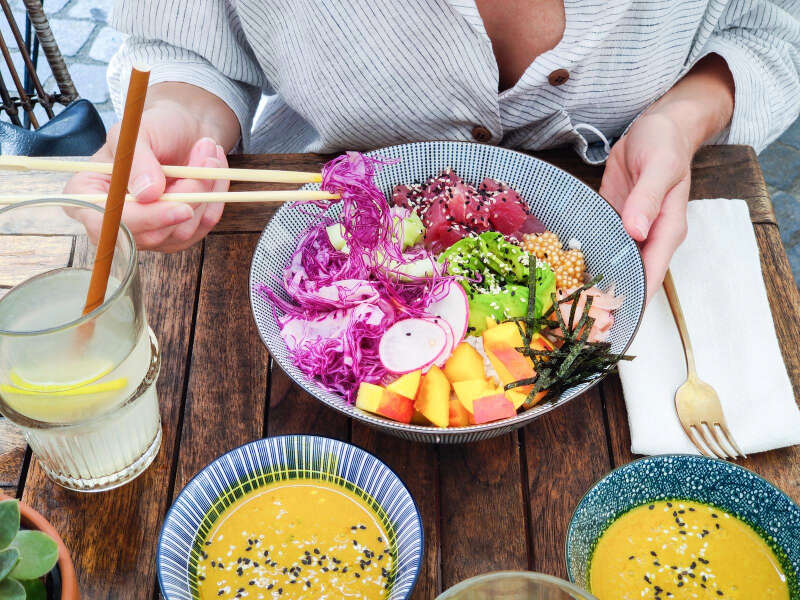
You need (per portion):
- 100g sushi rice
- Topper Ingredients, e.g. marinated tofu, mango, avocado, spring onions, soybeans, jackfruit, bell pepper, cucumber, carrots…
- 100g Tofu
- 20ml soy sauce,
- Sprinkle of garlic powder
- Dash of Ginger
- ½ teaspoon of maple syrup
- ½ tablespoon of roasted sesame
- 1 tablespoon mayonnaise
- 1 tablespoon of lemon juice
- Some chili flakes
Preparation
We decided to travel by food and go with a Poke bowl for lunch, because we’ve never had it before and it’s so easy to customize with the food that you like. For the basis you’ll need 100g sushi rice per person, which is cooked according to the packaging, and left to cool down. As a topper you can use anything you want. Popular choices include, marinated tofu, avocado, mango, spring onions, soybeans, jackfruit, bell pepper, cucumber, and carrots. We went with marinated tofu, for which we used 100g of tofu per person. The tofu is pressed dry and set aside for 10 minutes before it’s cut into small cubes, randomly poked with forks, and marinated with (per person) 20ml soy sauce, a sprinkle of garlic powder, a dash of ginger, and 1/2 a teaspoon of maple syrup. Let the marinated tofu rest for another 10 minutes. Afterward, the tofu is fried in a pan with some oil over medium heat until brown, which should take less than 10 minutes. In the meantime, you can chop all the other ingredients that need chopping for your poke bowl and prepare the garnish. The garnish consists of ½ a tablespoon of roasted sesame per person together with a sauce made up of 1 tablespoon of mayonnaise, 1 tablespoon of lemon juice, and some chili flakes. Add the rice base to the bowl, then add all the other ingredients finishing it off with the garnish and sauce.
Haupia
You need (for two portions):
- 200g (7ounces) of coconut milk
- 100ml (1/2 cup) water
- 60ml (1/4 cup) of sugar
- 3 tablespoons corn starch
- 1 tablespoon of cocoa powder
- Coconut chips
- Pineapple pieces
- Mint leaves
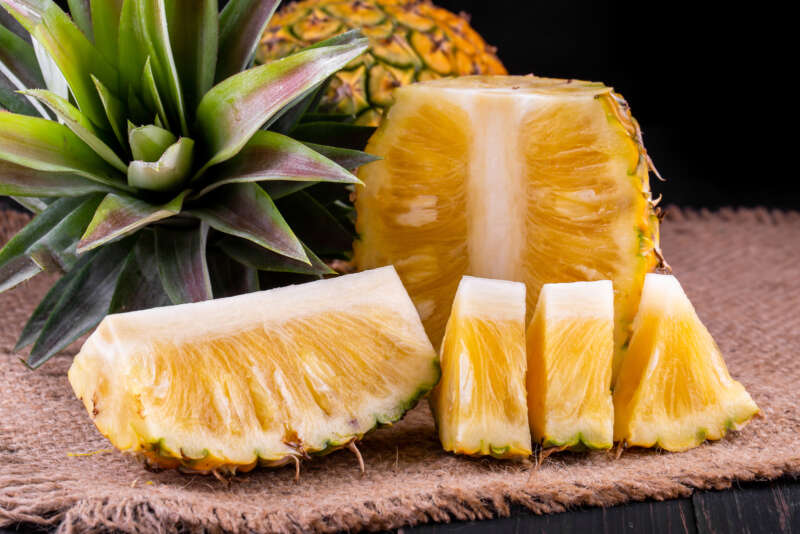
If you’ve got a sweet tooth like me, then you might have the urge to make a dessert for later, too. Travel by food should definitely include dessert though. I saw a recipe for Haupia and fell in love while reading. So let me share it with you, it’s super easy! It consists of three layers: chocolate, white coconut, and fruit. The recipe is for two people or one extra nice portion (as seen in the picture). For the chocolate layer, we pour 100g (3.4 ounces) of coconut milk into a saucepan. In a blender, we combine 50ml (1/5 cup) water, 30ml (1/8 cup) of sugar, 1.5 tablespoons corn starch, and 1 tablespoon cocoa powder. Blend until smooth and add to the saucepan. Cook over medium heat with constant stirring until the mixture starts to cook and thicken like a pudding. Take off the stove and sprinkle in a dash of coconut extract if available and stir in well. Pour half of the mixture into one bowl or glass and the other half into another. Put the bowls into the fridge to chill. The white coconut layer is prepared in the exact same way with the same ingredients minus the cocoa powder. Repeat the process for the white coconut layer and pour the mixture over the cooled chocolate layers in the bowls. Place back into the fridge until both layers have cooled. Sprinkle some coconut chips over the bowls and add some pineapple pieces and mint.
Click here to listen to Away She Goes, the Girls Who Travel podcast. On this episode: recreating your favorite meals at home.
I love road trips and the ocean. I used to rescue sea turtles and now do my masters in intelligent adaptive systems meaning no travel for a while. If you like my adventures, there’s more to see of them on my Insta, and, if you speak German, my travel blog.
Topics
Subscribe
Subscribe for news, updates, giveaways, and more!
JOIN GIRLS WHO TRAVEL
Join our inclusive community
of tens of thousands of women who
share your passion for travel in our
Girls Who Travel Facebook group!
